Get A Quote
One of our team would be happy to have a chat with you about your requirements, answer any unanswered questions and measure up at a time that suits you to provide you a free, no obligation quote.
Adding a splashback is one of the simplest ways to instantly elevate the look of a kitchen or bathroom. This comprehensive guide covers everything you need to know about these stylish and functional wall protectors.
Learn the basics, smart material and colour choices, creative designs, installation tips, and more to help select the perfect accent wall for your space.
As the name implies, splashbacks are designed to handle splashes – from cooking, washing, kids playing and more. Typically positioned behind sinks, stoves, and counters prone to spills and messes, these protective wall coverings shield paint, wallpaper and drywall underneath.
Not only do splashbacks guard against stains and damage, but they’ve also become a stylish focal point for showcasing creative designs, materials, textures and colours. Keep reading to unlock all the possibilities with these versatile accent walls!

A splashback is a covering applied to the wall area above a sink, cooktop, vanity or other area susceptible to splashes.
Water-resistant materials prevent damage from moisture, grease, food and general wear and tear. Most commonly used in kitchens and bathrooms, splashbacks became popular as an alternative to traditional wall tiles.
Benefits provided by splashbacks include:
– Protecting walls from cooker stains and water damage
– Adding an easy-to-clean surface that stands up to your kitchen messes
– Providing decorative visual appeal as an accent wall
– Serving as a DIY-friendly upgrade that immediately updates a space
– Creating a focal point to exhibit personal style
With endless options for materials, textures, shapes and colours, it’s simple to design a custom splashback that suits the look and function of any room.

Splashbacks come in a diverse array of materials to match any home’s aesthetics and budget. Here are some top options:
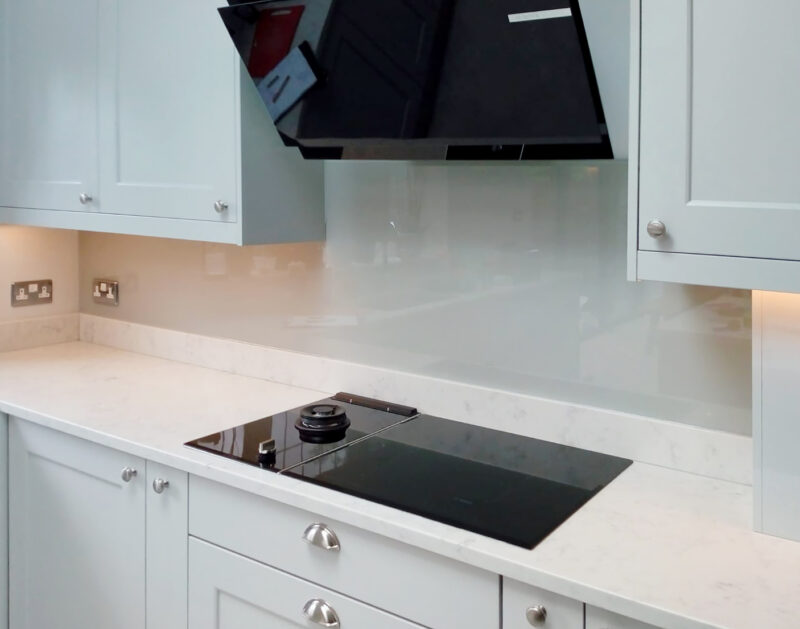
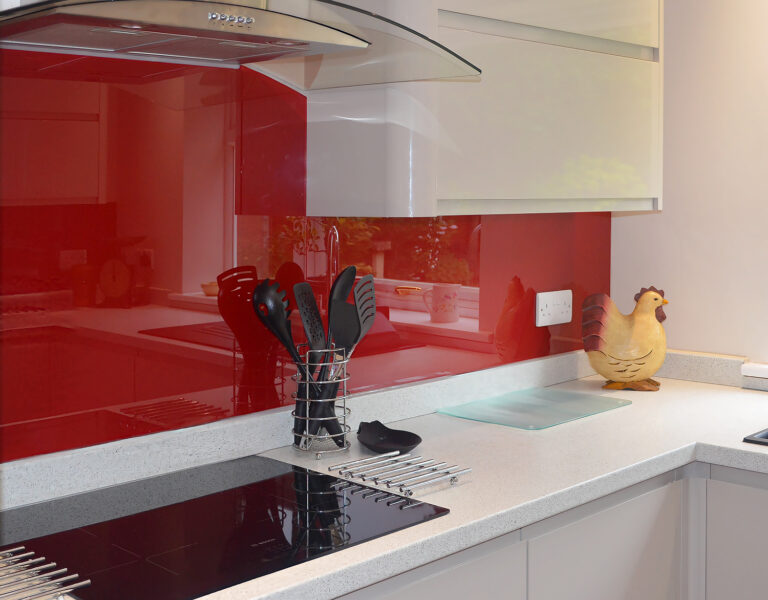
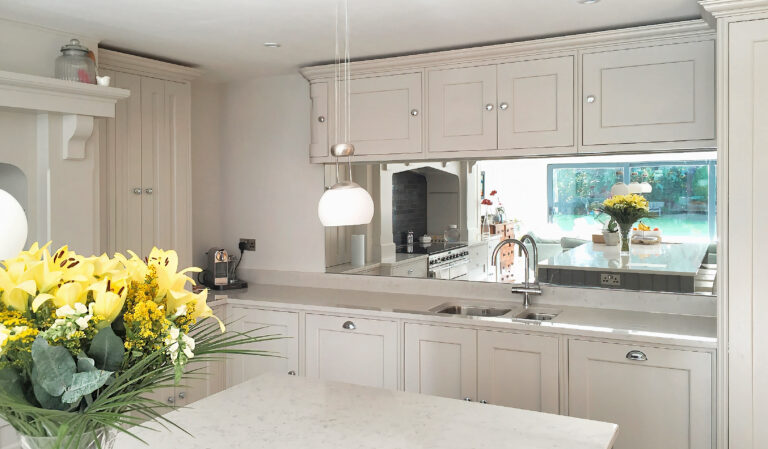
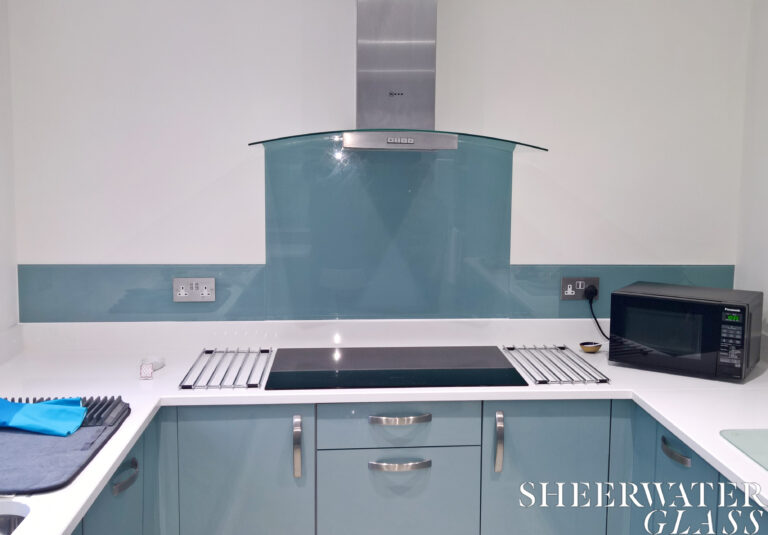
Glass Splashbacks – A sleek and modern choice, glass splashbacks shine with high-end style. Options like mirrored or a coloured glass splashback make a serious style statement. Glass is completely water-resistant and a breeze to clean. A toughened glass splashback is also heat resistant to further protect walls.
Tile Splashbacks – Classic and timeless, tile in patterns and textures infuses personality. Subway, mosaic, marble, and other tiles suit traditional to contemporary spaces. Grout requires occasional sealing.
Stainless Steel – A professional chef’s favourite, these stainless steel kitchen splashbacks boast a real commercial kitchen look. It’s durable, antimicrobial, and adds an industrial vibe. Fingerprints can show.
Plywood – For a wood look without the maintenance, plywood splashbacks add warmth. Use water-resistant finishes like polyurethane for protection. Eco-friendly and budget-friendly.
Laminate – Affordable and DIY-friendly, laminates offer extensive colours and patterns. Easy installation and cleaning make these practical splashbacks. Lacks the glossy look of other materials.
With endless customisable finishes, easy maintenance, hygienic, and sleek modern style, toughened glass splashbacks consistently ranks as a top material. Glass makes a dramatic impact in any space.
Splashbacks don’t have to demolish your budget. Here are money-saving options:
Peel-and-Stick Films – Inexpensive vinyl films easily apply to existing walls or tiles for quick transformation. Many patterns available, though prone to peeling over time.
Contact Paper – Like peel-and-stick, contact paper adheres to walls seamlessly. Wider rolls span large areas. Requires precise measuring for an expert look.
Paint – Specialty acrylic paints create a slick splash-proof finish. Inexpensive but requires careful prep and application for a professional result.
Remnants – Ask tile/glass suppliers for discounted remnants to score an affordable custom look. Great for small spaces.
DIY Installation – Skip professional installer fees and carefully apply your splashback using silicone/adhesive backing. Watch tutorials.
For the most complete and cost-effective custom accent wall, shop sales and remnants, take advantage of DIY-friendly materials like laminate or contact paper, and consider doing the installation yourself.

Tired of boring backsplashes? Spark inspiration with these artistic ideas:
– Mix and match materials like glass, metal, and tile
– Create patterns and designs using penny tiles, subway tiles, or mosaics
– Use an oversized statement print or wallpaper as the splashback
– Cover the entire wall with mirrored or coloured glass for drama
– Add textural interest with 3D tiles, metal mesh, stone brick, or shimmering glass
– Use an accent wall colour on the splashback for bold contrast
– Incorporate open shelving to accentuate the splashback behind
With creativity and proper sealing for water resistance where needed, virtually any material can become a stunning statement splashback. Make it uniquely you!
For a totally different accent wall, skip the expected materials and try:
– Reclaimed wood planks with water-resistant finish
– Recycled plastic “bottle brick” panels or wall tiles
– Natural stone slabs or slate in earthy hues
– Modern textured wallpaper resistant to moisture
– Faux brick panelling for an urban loft vibe
– Faux metal panels for an industrial aesthetic
– Painted glass for a playful pop of colour
Unexpected textures and eco-friendly finds make exciting alternatives to basic backsplashes. Explore your options!
As we approach the new year, keep these rising photo splashback trends on your radar:
– Statement marble with dramatic veining
– Dark moody hues like deep green, navy and charcoal
– Concrete-style porcelain slabs and bricks
– Hexagonal tiles or angled mosaic designs
– Floor-to-ceiling splashbacks spanning entire walls
– Contrasting classic white subway tiles with black grout
– Nature-inspired botanical prints and abstract textures
For a look that wows, explore mixing materials like wood with marble or concrete with tiles to create show stopping accent walls. Think big and bold!

Follow this guide to find your dream splashback solution:
Consider placement – Prioritise durability and easy cleaning for sinks, stoves and high traffic areas. Think about plumbing access as needed.
Assess your style – Let your aesthetic guide material selection. Traditional kitchens suit subway tile. Modern spaces shine with sleek glass.
Mind the budget – Choose affordable solutions like paint, laminate or peel-and-stick if on a tight budget. Comparison shop materials and installation pricing.
Account for size – Oversized statement splashbacks look best on ample wall expanses. Small spaces can still accent with creative tiles.
Envision the finished look – Collect inspiration images and material samples to conceptualise the final design before committing.
Confirm water resistance – Ensure any natural stone, wood or other permeable materials are properly sealed. Better safe than sorry!
Hire a pro or DIY – Tackle simple peel-and-stick yourself. But leave tricky tile layouts, glass cutting and intricate designs to experienced installers.
The right splashback balances form, function and budget for a look you’ll enjoy for years. Take your time selecting the perfect accent wall for your home.
With their protective qualities and visual appeal, it’s easy to see why splashbacks are a go-to upgrade in today’s homes. Use the information in this guide to narrow down your options. Choose a material that suits your space’s style and needs.
For intricate designs, leave it to professional hands. And explore ideas beyond basic tile to create a focal point that expresses your unique personality. With the endless possibilities, your dream splashback awaits!
Glass and stainless steel are naturally waterproof and easy to wipe down, making them ideal splashback materials for wet areas. Ensure any seams or joints are sealed properly.
Quality glass, tile and stainless steel splashbacks can last 10-15 years or far longer with proper care. Materials like laminate and peel-and-stick have shorter lifespans around 3-5 years.
It’s not recommended. New plaster requires up to 12 weeks of drying time before applying a splashback. Use a moisture-resistant backing board or waterproof sealant first for best results.
A recent survey found 70% of real estate agents said an updated kitchen splashback increases a home’s resale value. Stylish, modern backsplashes help kitchens and baths appear fresh and updated.
With careful planning and by following tutorials, many homeowners successfully install their own peel-and-stick, laminate and painted splashbacks. But more complex materials like glass and tile should be left to the pros.
One of our team would be happy to have a chat with you about your requirements, answer any unanswered questions and measure up at a time that suits you to provide you a free, no obligation quote.
Sheerwater Glass provides window installation and repairs throughout Surrey and the surrounding areas of our Woking showroom. If you’re interested in our services, we encourage you to check if we serve customers in your area by simply typing in your postcode.
If you check and find that we don’t serve customers in your area, in some cases, we may be able to help. Please call us to find out more.