Get A Quote
One of our team would be happy to have a chat with you about your requirements, answer any unanswered questions and measure up at a time that suits you to provide you a free, no obligation quote.
Anyone using the kitchen regularly knows the need to protect the wall against moisture, stains, splatters, and grease. Splashbacks (also called splashboards or washboards) keep your walls safe against stubborn inadvertent deposits and water damage.
Since the evolution in the 70s (mainly Formica and tiles), splashbacks have come a long way. Today, there is a myriad of materials, styles, and designs to confuse homeowners.
Over the past decade, glass tiles have emerged as the prime kitchen splashback material, for many reasons. Glass is safe, durable, easy to clean and maintain, and offers plenty of design/colour options. Above all, it is more hygienic than other materials… the chief concern when installing kitchen elements.
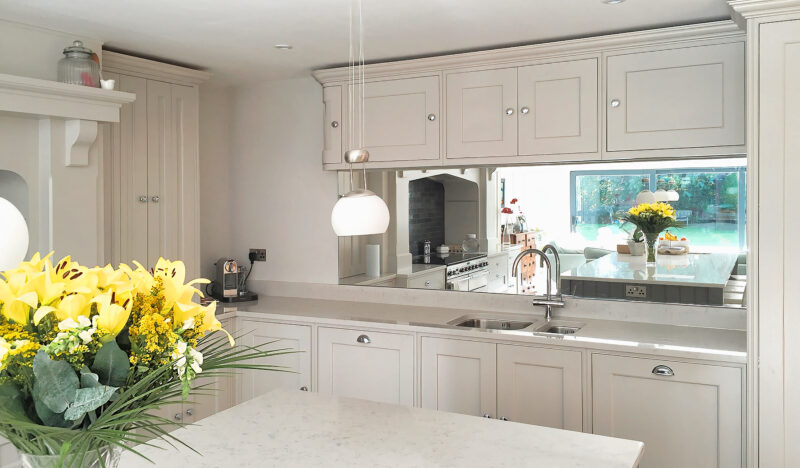
In this article, we will give you a comprehensive guide to glass kitchen splashbacks, their pros and cons, types, design considerations, installation process, cleaning and maintenance tips, and more.
Please read the comparison with other splashback materials to know if glass models are the best bet. I have also answered the frequently asked questions that may help you with an informed decision to find the perfect splashback for you.
There is quite a buzz about glass splashbacks everywhere. All of it is because of the stunning looks. But it is worth knowing the benefits and downsides of installing glass splash boards in the kitchen.
Kitchen splashbacks made of sturdy tempered glasses. These items last for decades without the risk of breaking due to collision, temperature change, etc. Cheap annealed glasses are not suitable for installation near the stoves. The weak molecular bonding tends to break when exposed to heat.
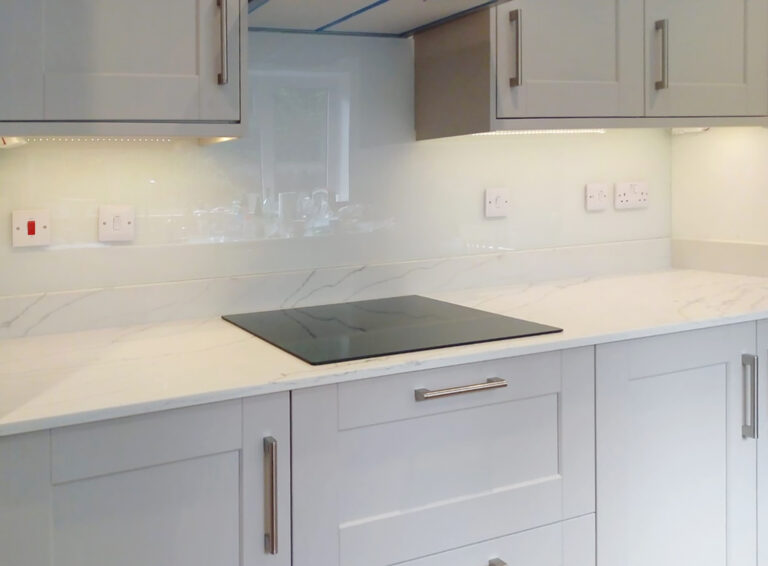
Premium glass splashbacks have smooth and glossy surfaces that prevent the food and liquid from sticking. Cleaning is a breeze. Spray any non-abrasive cleaner and wipe with a soft cloth to remove the residues.
This is the main reason for choosing glass over other splashback objects. Glass is a safe and non-porous material. The material does not promote bacterial and fungal growth (build up on traditional worn-out tiles and damp walls).
Unlike natural stone prototypes, homeowners have unlimited style choices for their kitchen interiors. This works great if you have theme renovation in mind. There are several colours, designs, and effects to suit varying preferences.
Specific styles can be customised or personalised (printed/etched) with a design of your choice.I will give more details about types and design choices below.
Glass is a resilient and non-porous material that can resist the impact of water, chemicals, and heat. Once installed, it keeps the wall construction safe from moisture seeping, fading, peeling, mildew, moulds, mosses etc.
The glass reflects light to accent illumination in the surroundings. When a glass splashback is strategically planned with lighting fixtures, it makes a compact kitchen look big and bright for better visibility.
A glass splashback fitting can be arduous job. Hiring a professional glass splashback fitter can reduce the hassles. Professionals leverage industry-grade tools and sealing techniques to ensure adequate fixation and safety.
If you love the minimalist appeal of see-through splashbacks, it can be hectic to maintain the look. Even a minute stain or splatter shows on the glass surface. Regular cleaning is mandatory for a fresh, spotless look.
Tempered glass or custom-designed splashbacks are the most high-priced items in the market. While it is worth the investment, the budget can go much higher than typical porcelain tiles.
Not all glass kitchen splashbacks are the same. They differ in texture, design, and style to widen the scope of coherence with other structural elements. Dive in to see the glass splashback options:
– Coloured Glass Splashbacks
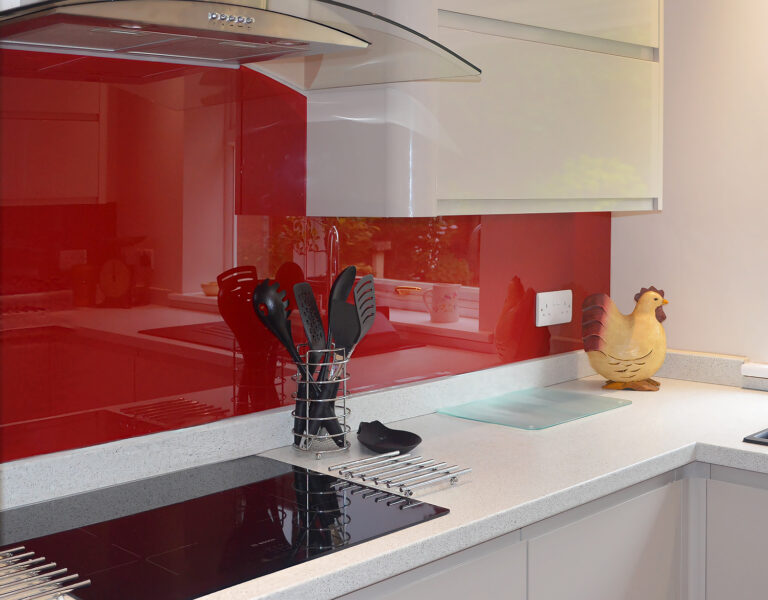
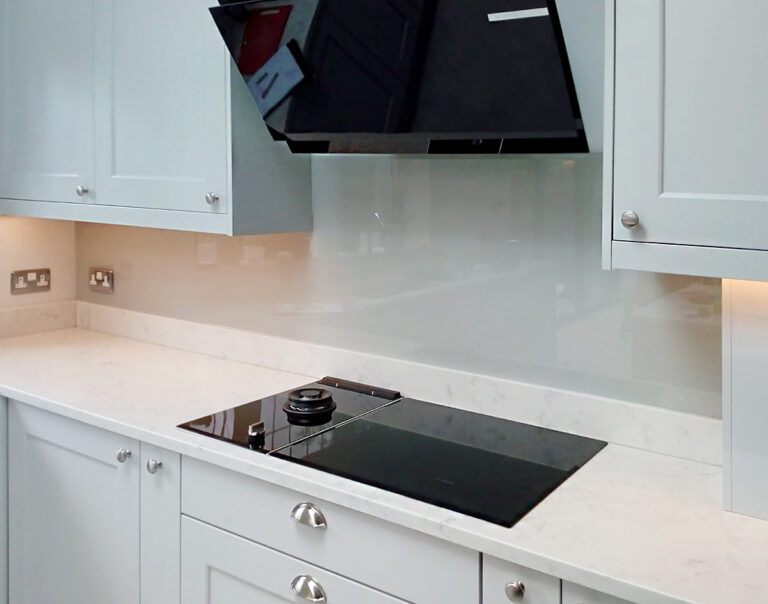
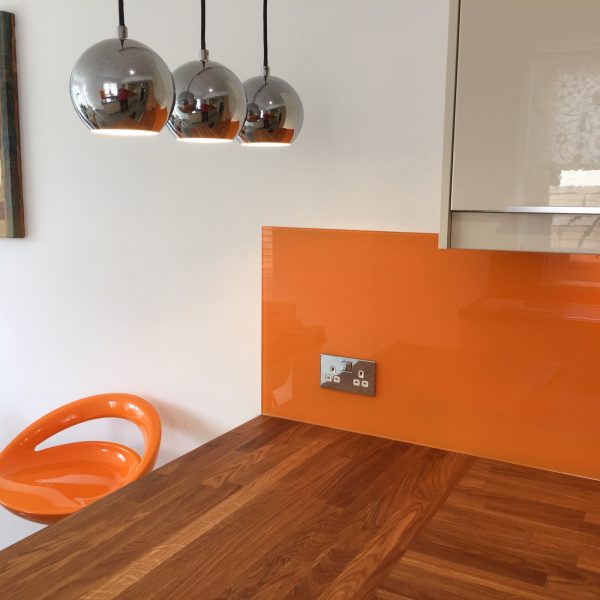
When renovating the kitchen to colour concepts, these splashbacks jazz up and colour match with the rest of your kitchen, adding style with a pop of colour. Create monotone or contrast notes with any preferred shade. Most industry-standard items are made of low-iron toughened glasses with polished edges for supreme durability and safety.
– Printed Glass Splashbacks
Do you have a series of nature photographs from a favourite tour hotspot? Printed glass splashbacks are ideal for domestic and commercial kitchens. Custom-printed glass technology allows you to integrate images, graphics, logos, paintings, and other patterns into the splashback. From cityscapes to abstracts, you can get anything in high-resolution prints on the glass splash boards.
– Textured Glass Splashbacks
Incorporate whimsical textures to create the feel of any material into glass splashbacks. If you like glittering quartz tiles with natural veins but want to keep them light, a textured glass design is ideal to bridge the gap. Textured glass kitchen splashbacks are available in different finishes- wood, stone, brick, etc. From rustic to contemporary homes, these splashbacks are about tactile impact in robust 6mm toughened glass.
– Mirrored Glass Splashbacks
According to the feng shui belief, a mirror brings positive energy into the house. But installing mirrored splashbacks in the kitchen has a far-reaching purpose.. Modern mirrored splashbacks are available in smoky effects, shiny metallic tints (bronze, silver, etc.), matte looks, and more. From muted undertones to warm shades, you have several colour options.
Toughened mirror splashbacks are heat resistant up to 400°C. These statement pieces brighten up the interiors for enhanced access and functionality. Mirrored glass splashback installation is British building standards compliant (BS EN 12150).
– Frosted Glass Splashbacks
Frosted glass delineates opacity to add a distinct character with light diffusion to accord brightness and privacy in the kitchen. These splashbacks feature a smooth and smudge-free surface boasting a gorgeous appeal. If you want to cut the glistening reflection and glare, these matte splashbacks feel soothing to the eyes.
– Etched Glass Splashbacks
Etch glass design facilitates you to add personalised elements to your splashback. Many reputed glass splashback manufacturers offer custom etching services. Design customisation services are available to engrave desired texts or graphics on the glass splash boards.
Kitchen splashbacks are an eminent part of the aesthetics. A mismatch in the pattern can spoil the look of the surroundings. This can be a problem for an open kitchen adjacent to the living room. It should blend with other elements in the surroundings. Working with an interior decorator or remodelling professional can resolve this problem.
– Complementing Countertops
Your kitchen splashback planning is primarily ruled by the countertop characteristics. The splashboard stands just above the worktop, so balancing the elements is crucial for the finesse.
There are two options-
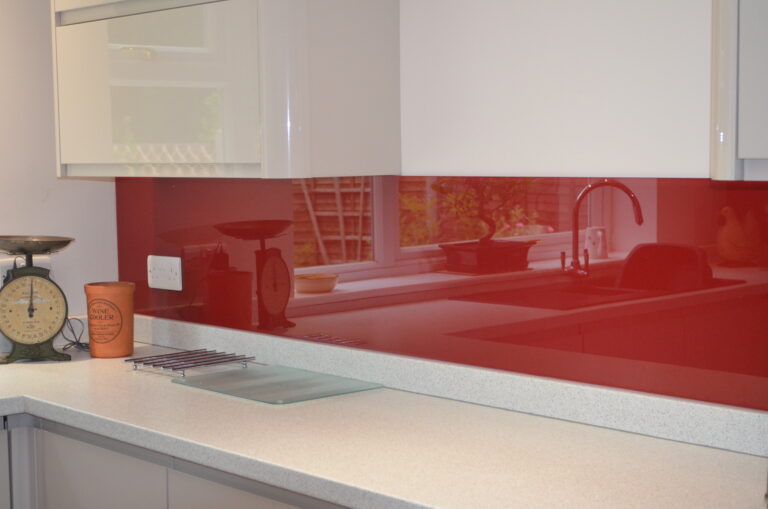
Matching shades- This depends on the colour and material of the countertop. A matching look is an option in tranquil kitchens in subtle tints- beige, white marble, etc. Needless to go monotone galore unless you love the pristine all-white vibes. This may include shades apart on the same palette as in Scandinavian kitchens.
Bold contrasts- A light-dark mishmash is an option for contemporary farmhouse styles, usually with dark-toned countertops. High contrast with subdued undertones brightens the surroundings.
The rule of thumb is to choose light splashbacks for dark countertops and matching tints for light ones. An exception is the pearl-white kitchen, where a dark splashback adds a poised scenic effect.
– Blending with Cabinets
Cabinets are the next focal point after worktops to determine the splashback colour. A dual cabinetry colour scheme is a modern kitchen makeover trend. This usually comprises a contrast effect in the solid shade and pastel combination. A few shades apart from the lighter undertone are your backsplash colour to allow the bold tints to shine on the premises. Muted undertones can bring in a light and airy refreshment highlighting the woody cabinets in a rustic kitchen while retaining the crisp décor.
– Toning with the Flooring Design
The splashback is installed at a distance from the floors. Yet, blending or contrasting with floor tiles, hardwood, or vinyl materials, is the emerging trend. For instance, wood textured splashback creates a contrast effect in subtle hues- ivory, sandstone, cream, etc. This can again blend with a rustic hardwood floor design.
– Balancing with Lighting Fixtures
Invite iridescent glow into your kitchen by pairing glass splashbacks with lighting systems. Neutral shades in metallic hints enhance the luminosity in spaces lacking natural daylight. Glass has a high reflective index to scatter light in all corners. Under-cabinet lights can illuminate the worktop near the hob for acute visibility. Test the lighting impact when installing chandeliers or pendant lights to avoid glare and eye strain issues.
– Coordination with Wall Colour
The wall colour or wallpaper is as vital as the other elements when choosing the splashback design. Whether extended or a small board, the splashback stands above the countertop and aligns with the walls. Coordinating with wall colour can be streaks in contrast or variations of the same shade. For instance, if you are passionate about the salt and drama in the coastal kitchen, pastel greens, oceanic blues, greys, and creams are incredible options. This works great for small spaces in modern homes.
Glass splashback installation is a complex job. A certified fitter can save you from costly mistakes, assuring a problem-free user experience for decades. This quick guide gives you an idea of the work involved in the process.
Measuring Tape Glass cutter Sealant tool Low-acidity silicone adhesive Tile spacer (2mm)
Step 1- Splashback Area Measurement
The choices differ when choosing the area of splashback coverage. Some people opt for a single slab for the hob. But a stretchy glass expanse is the ideal solution to get the spacious feel in compact spaces. Most installers prefer taking measurements upfront and getting custom-cut slabs for the project. Else, on-site cutting may be an alternative for engineers.
Step 2- Prepare the Wall and Worktop
Clean the wall before applying the sealing adhesive. The wall surface must be dry at the time of work. You may need to do the wall treatment for issues like dampness and mildew patches.
Step 3- Fix the Splashback Slabs
Some branded splashbacks have a self-adhesive backing. For other items, use glue and screws to fix the panels.
Step 4- Seal the Edges and Corners
Silicone sealant is applied to the edges and corners to fill the gaps. This ensures a waterproof barrier for the wall.
Step 5- Finishing and Resting Time
At least 24 hours of resting is essential to get a firm fix. The glass splashback installers may do additional work like cleaning the excess grout, sealant spots, etc. Glass Splashback Cleaning and Maintenance Tips Kitchen glass splashbacks are easy to clean and maintain. It is about simple measures to cherish the gorgeous look all around.
Non-scouring soft sponge 2 Lint-free soft cloths/microfibre towels Antibacterial glass cleaner (only gentle formulations) White vinegar (for removing grease) Spray bottle Paper rolls/paper towels
Use a microfiber towel to remove dry food and remnants. Place paper towels on the bottom edge of the splashback to collect cleaner spills from contacting the countertop. It is best to clean the countertop after doing the splashback. Spray and spread the cleaner on the splashback uniformly. Wait 5 minutes for the solution to act on the dirt and grime. Apply vinegar on stains and grease deposits. Dampen the sponge with water and wipe the surface softly in circular motions (to avoid streaks) Wipe the moisture traces with a dry microfibre cloth.
That’s all. Repeat the cleaning routine every two weeks for lustrous stain-free splashback.
Follow these glass splashback maintenance tips to retain the new sheen and look for years.
Use soft fabric and non-abrasive cleaning products to safeguard the glass from scratches. Apply protective coating to glass splashbacks and wipe off food spills and splatters immediately (before drying) to prevent stains. Avoid exerting pressure on the glass to protect the material from chipping.
Do not expose the glass surfaces to extreme temperature changes, heavy collision, and structural movements to eliminate the chances of cracking. Protect the glass splashbacks from direct sunlight. Do not use harsh chemical cleaners. This can lead to discolouration/fading.
If you are unsure about the best splashback material for the kitchen, here is a quick comparison of glass items with other substitutes.
– Tiles
Ceramic and porcelain tiles are the most popular, versatile, and affordable splashback options for bathrooms, sinks and kitchens. There are several colours, shapes, sizes and design options to match cabinets, walls, and furniture. Tiles can be arranged vertically, horizontally, herringbone, chevron, etc. Cheap is not always the best deal on the list. The grout lines develop ugly stains after a short time. After a few years, tiles crack, leaving apparent crevices.
– Stainless Steel
Both glass and stainless steel are highly durable and match the hygiene standards for the kitchen. The hard-wearing metal lasts for years, retaining its lustre and smoothness. There are downsides to stainless-steel splashbacks. Steel is vulnerable to rusting. If installed too close to the hob, it can get overheated. Accidental contact with such hot surfaces can cause severe injuries. After a few years, the steel surface loses its smoothness, developing scratches and fingerprints.
– Acrylic/Zenolite
Acrylic has a sleek and shiny texture to reform the look and feel of the kitchen. It is lightweight and available in varying shades. However, the material cannot withstand high temperatures. Hence you must consider alternatives for the oven area. These structures require regular cleaning to stay in good shape. Over time, acrylic splashbacks lose the sheen and get scratched and discoloured.
– Stone
Stone splashbacks give refinement to kitchen decors in natural elements. Veined and shimmery effects in super smooth surfaces can transform the space. You can choose from natural and engineered stones for graceful hues and designs in quartz, granite, marble, crystal, onyx, sintered stone, etc. These materials are heavy, difficult to install, and come in sky-high price tags. For example, quartz splashback costs £300 (4100mm x 640mm x 9mm) per slab.
– Brick
Brick effect splashbacks have a traditional look ideal for classic woody interiors. It pairs well with vintage and rustic themes. The porous surface soaks moisture, so it requires additional sealing. This is a DIY job to do with waterproofing sprays. However, the brick surface lacks smoothness and is tough to clean. Other splashback selections include plaster and resin.
These materials are not ideal for installation near the stove. Plaster is inexpensive renovation work for the walls. But it invites grease deposits and stains quickly. It is not washable. Resin is a high-end hygienic, shockproof material that withstands heat (up to 180 degrees). However, it gets scratched when cleaning or removing stains.
Yes. Modern toughened glass splashbacks assure years of functionality, convenience, value, and a voguish feel. Glass tiles offer versatility in design and styles to achieve the desired finish touch. The sheeny surface is easy to clean without the risk of forming nasty scratches.
Ceramic and classic brick-effect tiles are two popular options for cheaper splashback alternatives. However, there are some benefits and substantial factors when choosing splashback materials. Please check the splashback material comparison guide above for more details.
There is no specific option to fit every kitchen unit. A splashback addresses multiple purposes- keep the walls clean, protected, and enhance the dramatic flair. While stainless steel is best for longevity and ease of use, they are low on the charismatic quotient.
Porcelain and ceramic tiles can uplift the looks but are prone to wear out in a few years with cracks and grout stains. Glass is a functional, hygienic, stylish, and long-lasting material but may be a splurged investment with luxurious custom designs. Everything depends on your needs, budget, and choices.
When planned carefully, glass splashbacks bestow a statement to your kitchen. From small spaces to large premises, glass tiles disseminate radiance and a fascinating patina to the vicinity. From luxurious models to inexpensive alternatives, glass kitchen products come in various price ranges for diverse preferences and necessities. However, the splashback material is always a personal choice for homeowners.
We are professional glass splashback installers in Surrey. See our glass splashback projects for design ideas. We offer the best-in-class bespoke glass splashbacks for residential and commercial units. Contact us for an on-site project estimate and quote.
One of our team would be happy to have a chat with you about your requirements, answer any unanswered questions and measure up at a time that suits you to provide you a free, no obligation quote.
Sheerwater Glass provides window installation and repairs throughout Surrey and the surrounding areas of our Woking showroom. If you’re interested in our services, we encourage you to check if we serve customers in your area by simply typing in your postcode.
If you check and find that we don’t serve customers in your area, in some cases, we may be able to help. Please call us to find out more.